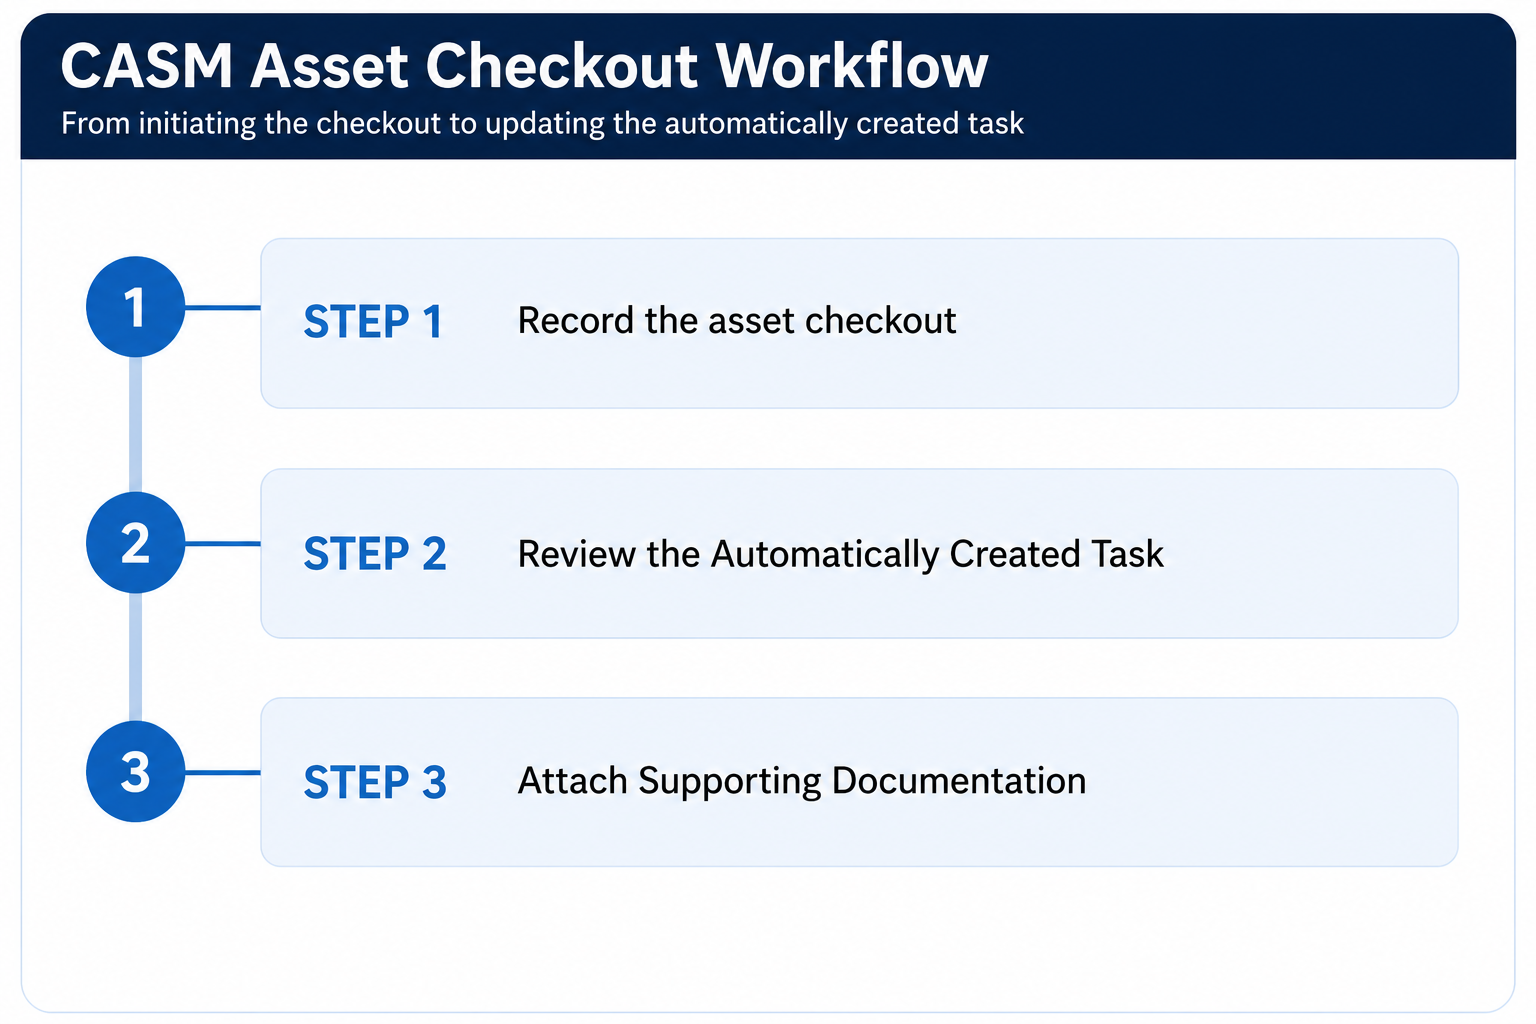
The Checking Out Assets process is used to record assets that leave the organisation for an extended period. It creates a complete record of who received the asset, when it was issued, and can automatically create a follow-up task for supporting documentation.
This guide uses the CASM Admin profile. The Admin profile has full access to the asset, check in / check out, task and supporting documentation features used in the process.
Important: Users with restricted permissions may not see all the menus or actions shown in this guide.
Confirm the current location (1), select the assets to be issued (2), assign the recipient (3), enable a scheduled reminder (4), review the checkout assets (5) and complete the checkout using Process (6).
Identify the asset(s) and recipient to ensure the correct assets are issued to the right person.
Confirm the asset’s current location so the checkout is recorded against the correct branch and department.
Select the asset(s) for checkout to prepare them for issuing.
Assign the recipient to create a clear record of who has received the asset(s).
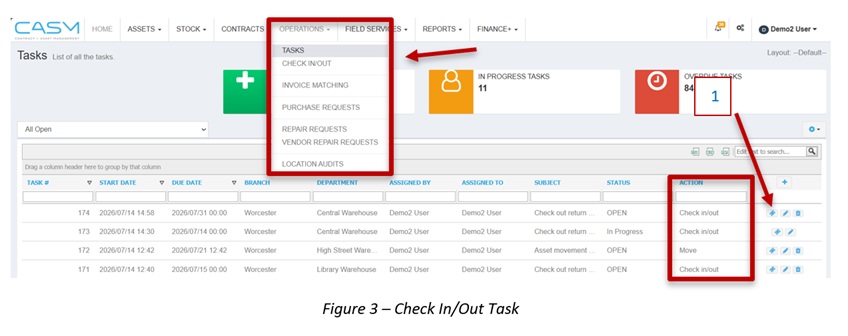
Enable a scheduled reminder to automatically create a task for attaching supporting documentation.
Review the checkout details to ensure all information is accurate before processing.
Complete the checkout to record the transaction, remove the asset(s) from the active asset list, and automatically create a task if a scheduled reminder was enabled