
Moving assets around your organisation requires accountability. By completing a movement request and verifying the assets with the receiving person, you can track who moved the asset and who received it. This helps ensure nothing gets lost in the shuffle. CASM’s move assets module simplifies asset movement and tracking. When you need to move one or more assets, you can use this module to:
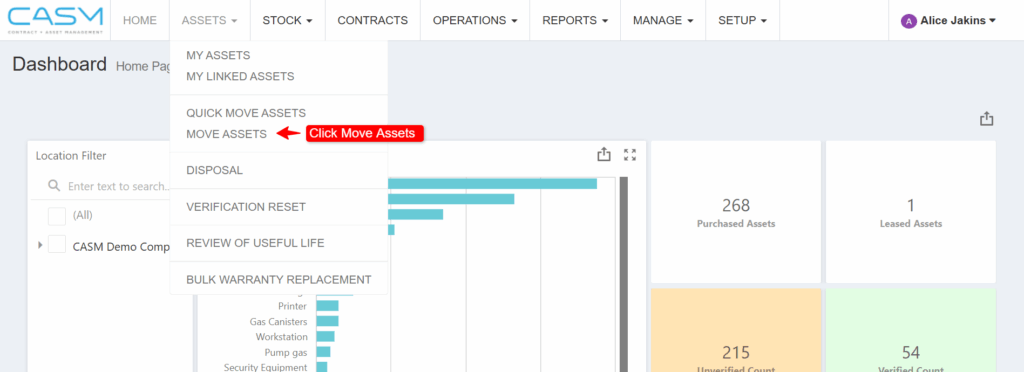
Navigate to Move Assets: Go to the ASSETS menu and select MOVE ASSETS.
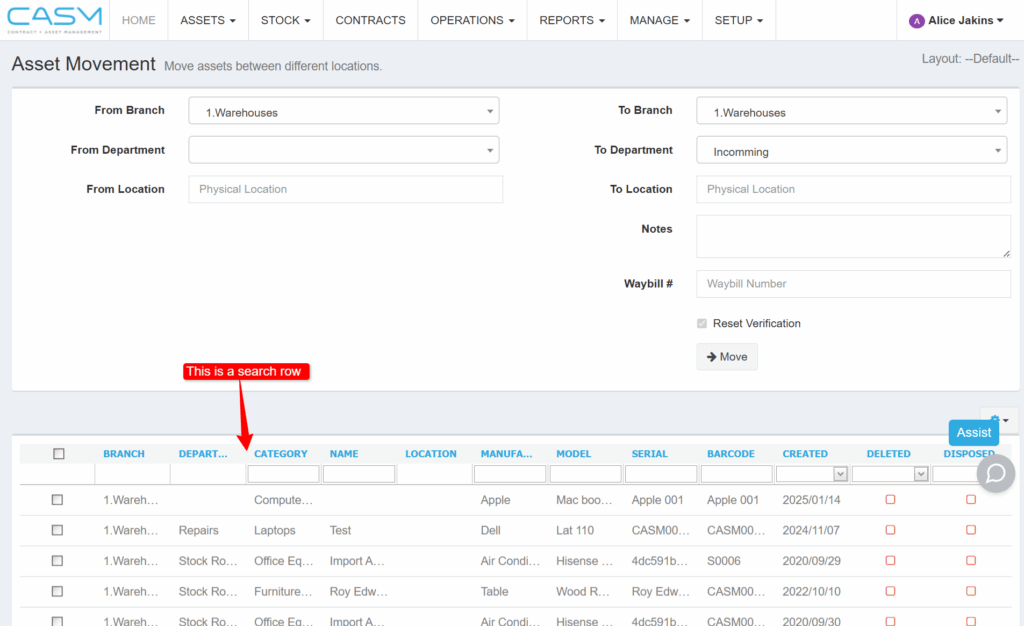
Search for Assets (Optional): If you have a large number of assets, the system may allow you to search for specific assets by name or ID to locate them quickly.
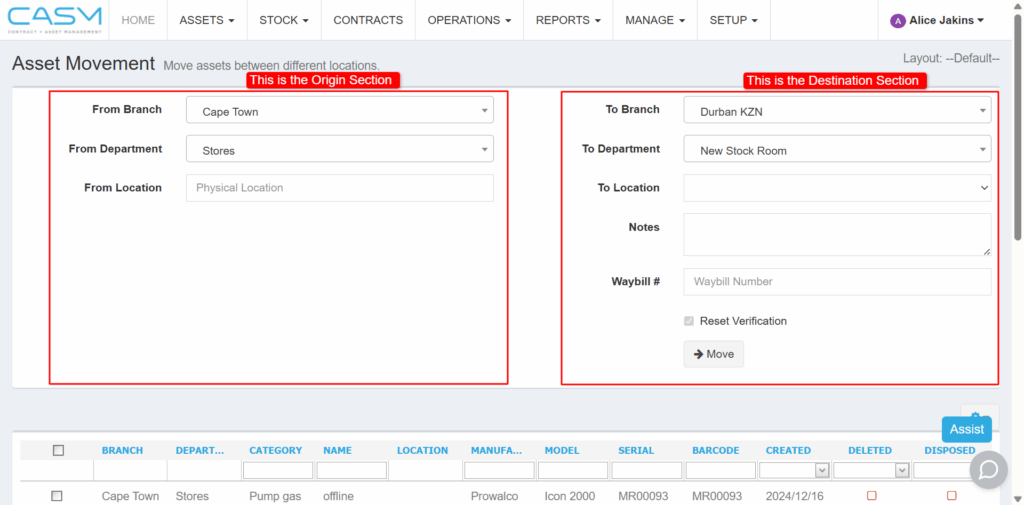
Select the Origin and Destination:
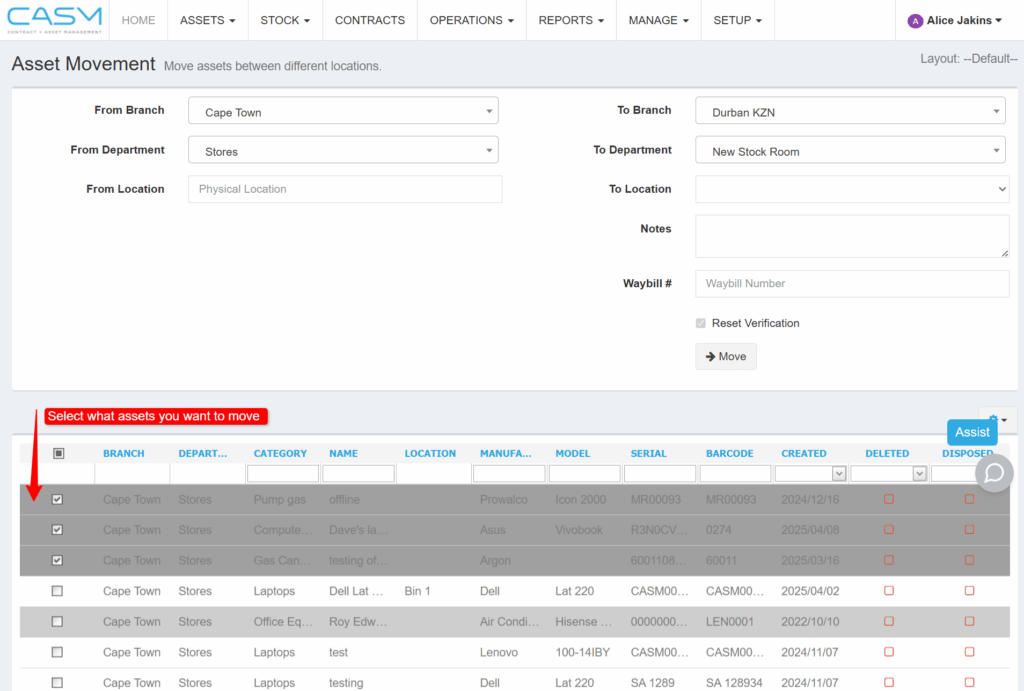
Choose Assets to Move:
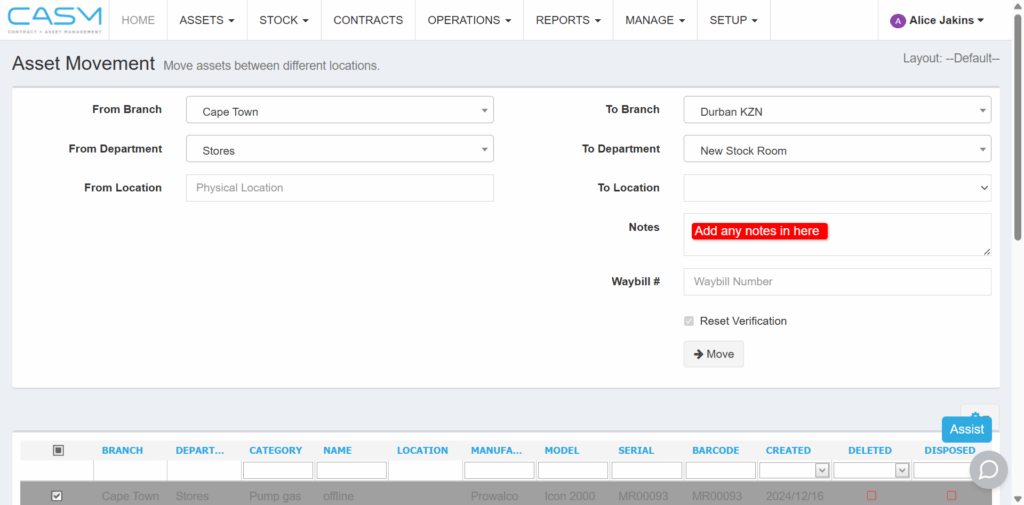
Add Notes (Optional): Include any relevant information about the move in the designated notes field.
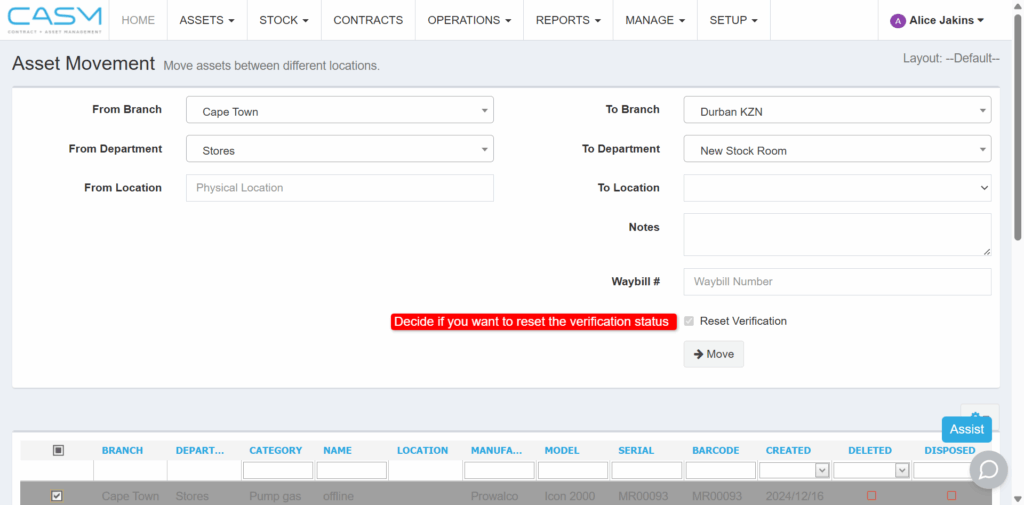
Reset Verification Status (Optional):
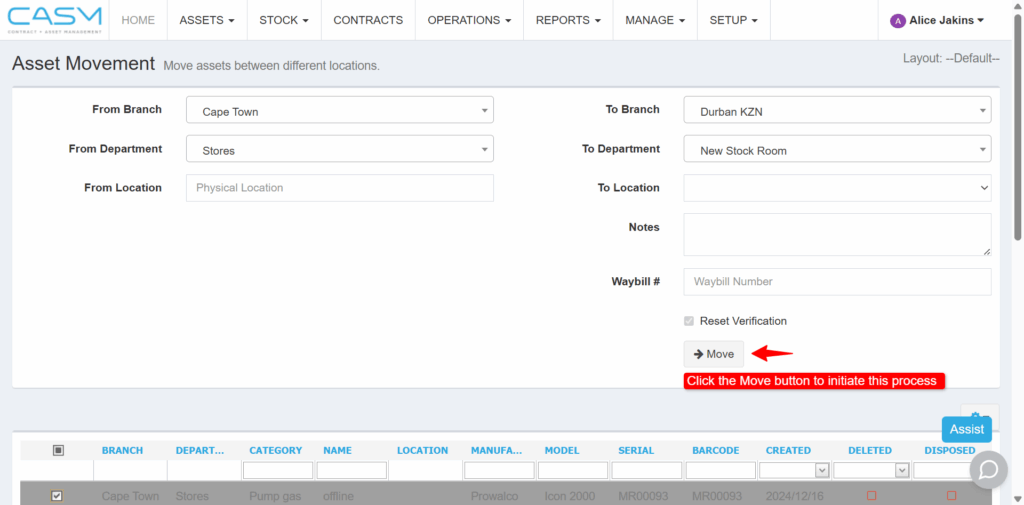
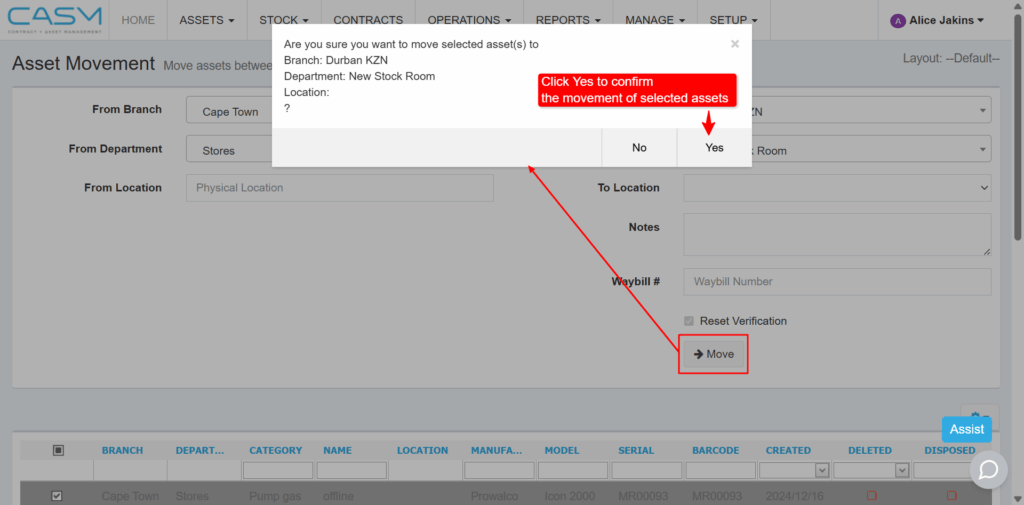
Complete the Move: Click the Move button to initiate the movement request. Confirm the process to finalise it.
By following these steps and considering these additional points, you can efficiently move assets within your organisation using CASM’s move assets module.